DIY Spandex projection screen
This tutorial shows how to build a screen from Spandex (aka Lycra or elastane) suitable for front projection.
Requirements
- Wodden frame (painted matte black)
- Two layers of Spandex "Milliskin Matte" (preferably black and white)
- Staple gun for wood
Preface
The type of Spandex required for projection screens is a fabric woven from 80% Nylon and 20% Spandex. It's a "four way stretch" fabric that stretches in both directions, crosswise and lengthwise. The weave is very fine and uniform because the thread is very uniform. That's the reason why most other fabrics don't work: the thread varies in diameter creating a visible pattern on the screen. Spandex is acoustically transparent even when used in two layers. Its acoustical properties easily rival and surpass even the best commerically available screen materials. This comes with a price: the gain is around 0.8 or lower depending on the amount of stretch applied to it. Don't try to increase gain by using shiny/reflecting Spandex as this will result in hotspotting (picture is brighter in the center, darker at the edges).
The required fabric size depends on the size of the frame. Calculate the outer screen width and height adding your frame's circumference to each number. Subtract about 5-10% from both numbers. This will give you the dimensions of Spandex required. Cut both layers of fabric accordingly. A 5% stretch is recommended. Stretching the fabric more than 10% will result in a significant loss of gain.
Attaching the fabric onto the frame
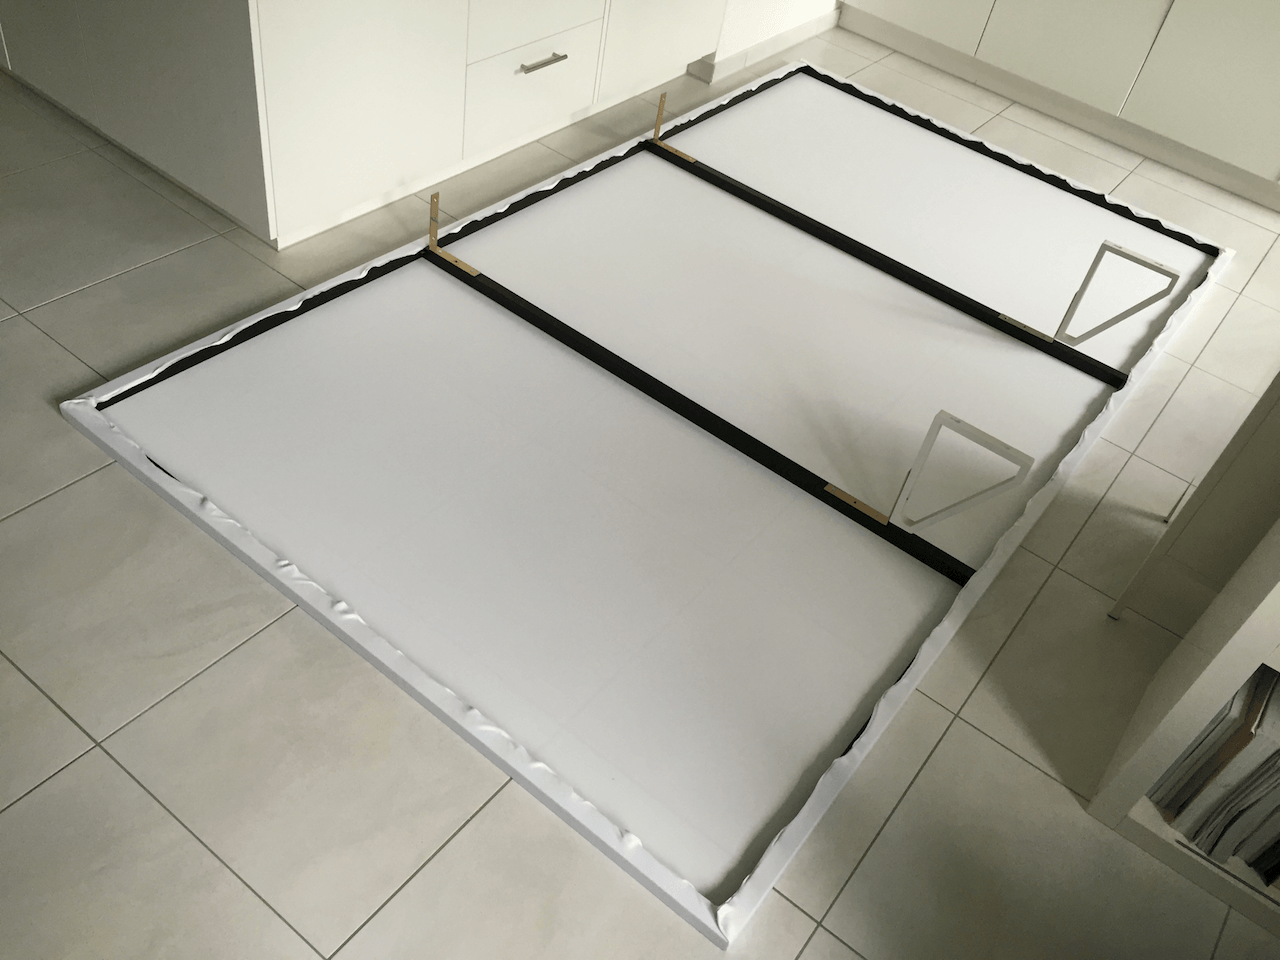
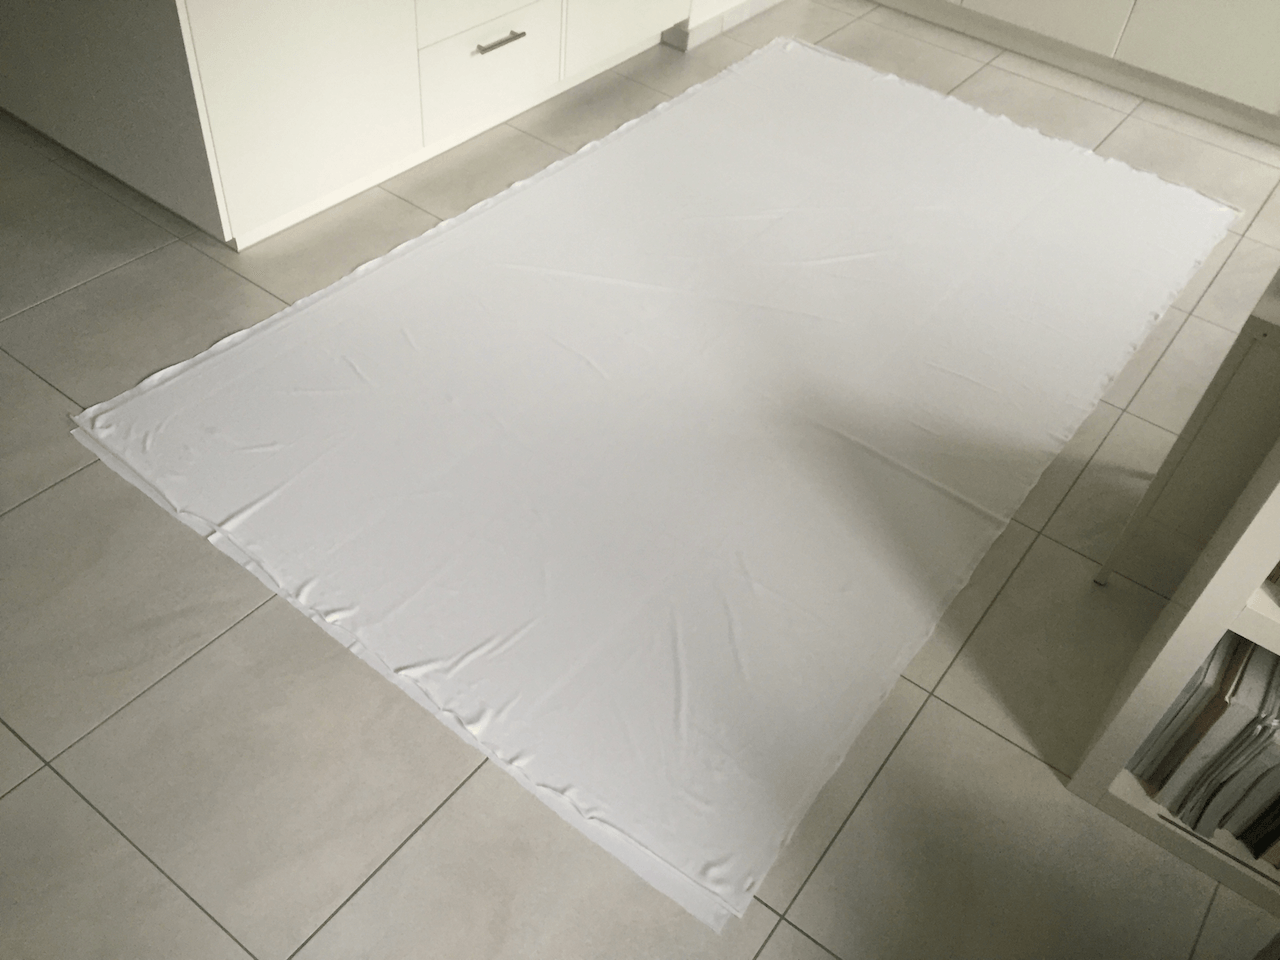
Place both layers of fabric on top of each other on a clean and even surface. The front layer is facing the floor.
In this example white over white Spandex was used to compensate for a projector with low light output. If the projector is bright enough a white front layer over a black backing layer is recommended though. In that case the white layer would face the floor.
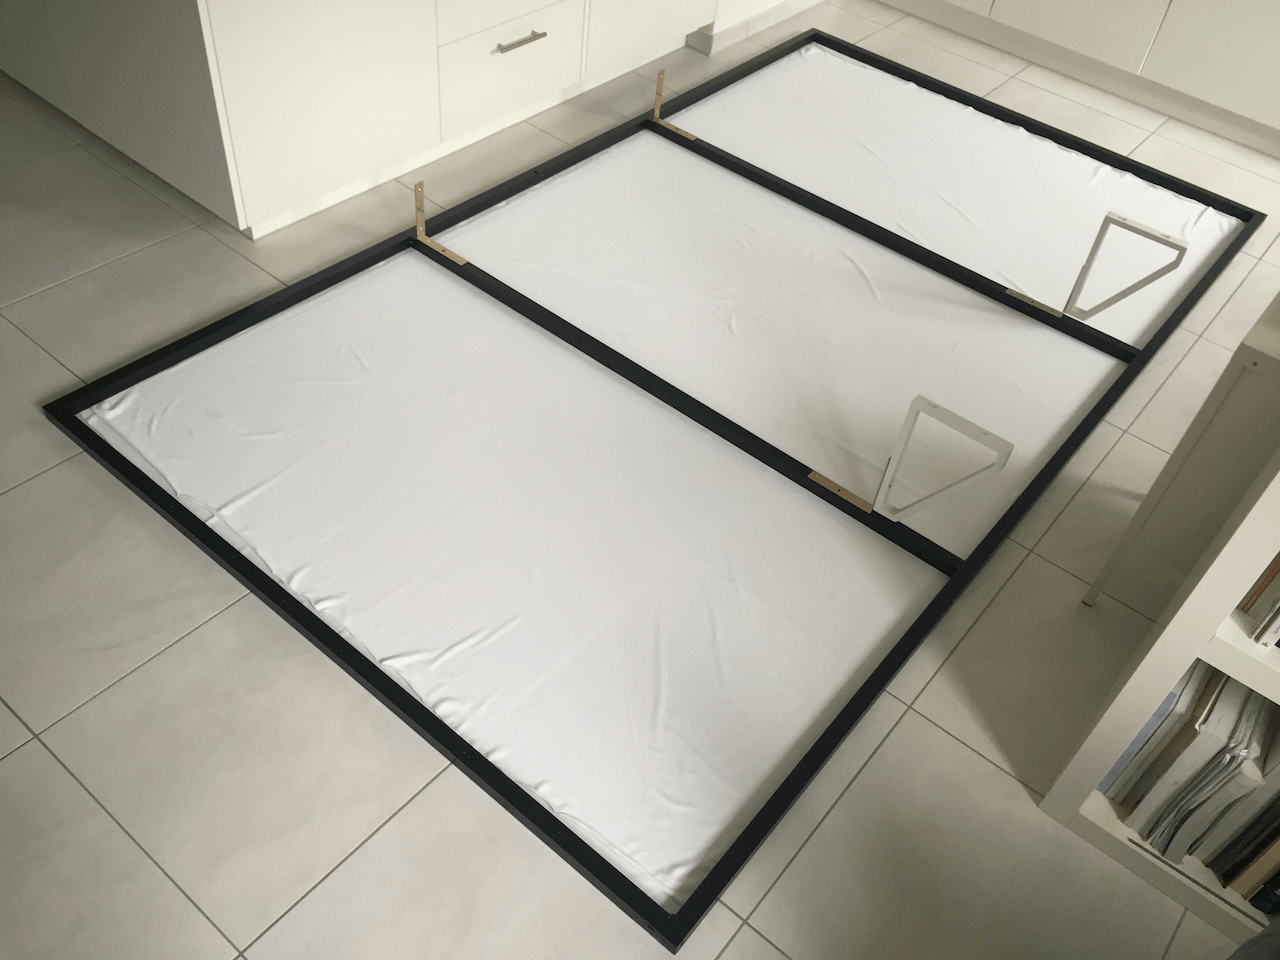
Put the frame on top of it. The frame in the picture has some wall mounting gear already attached to it. It is painted black. This has two benefits: the frame doesn't become visible behind the screen and it seals the wood so it is less prone to warping.
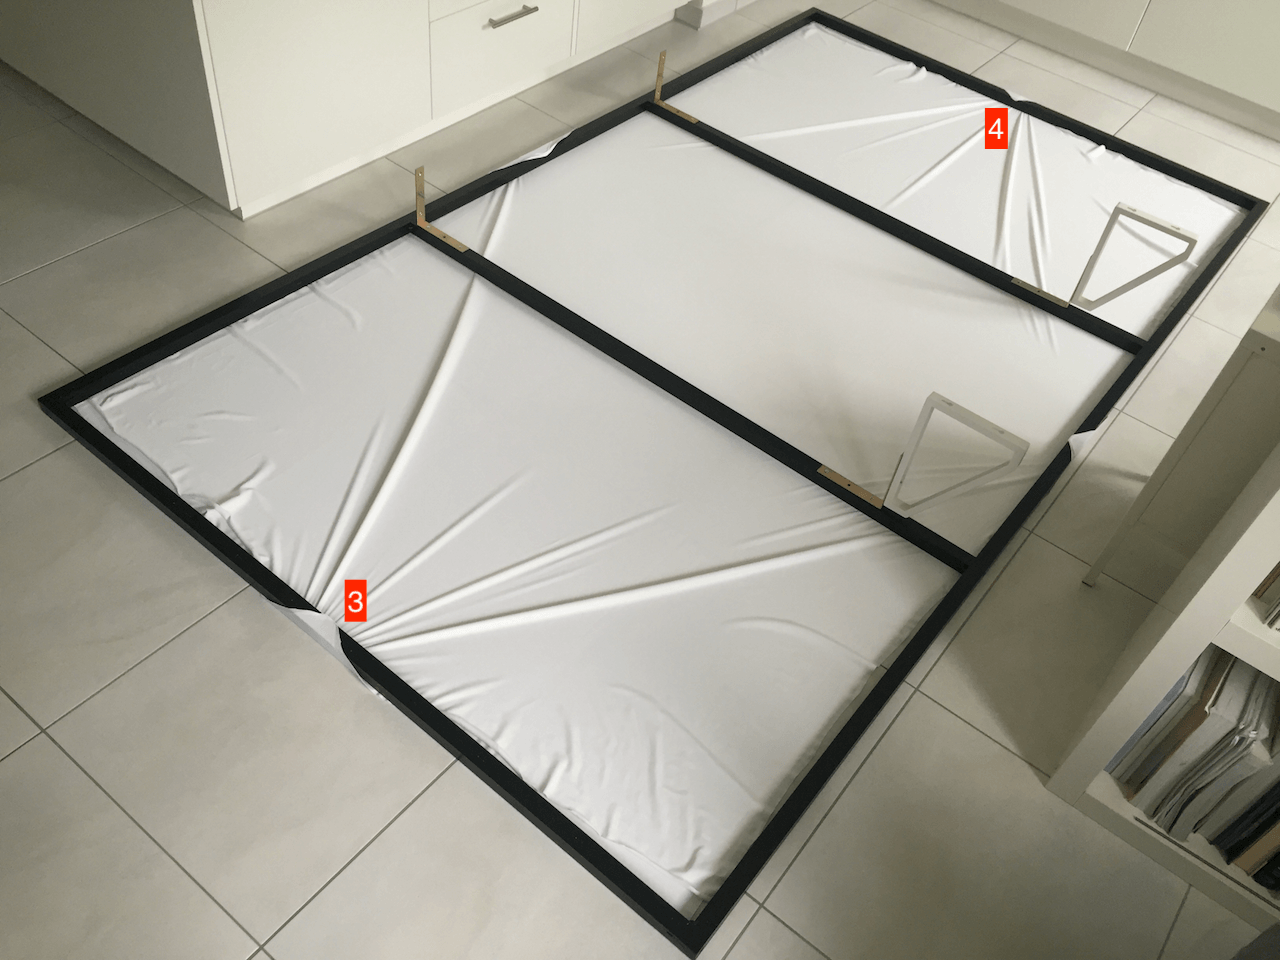
Grab both layers of fabric in the middle of one of the long sides and staple it to the frame (1). Do the same on the opposite side (2).
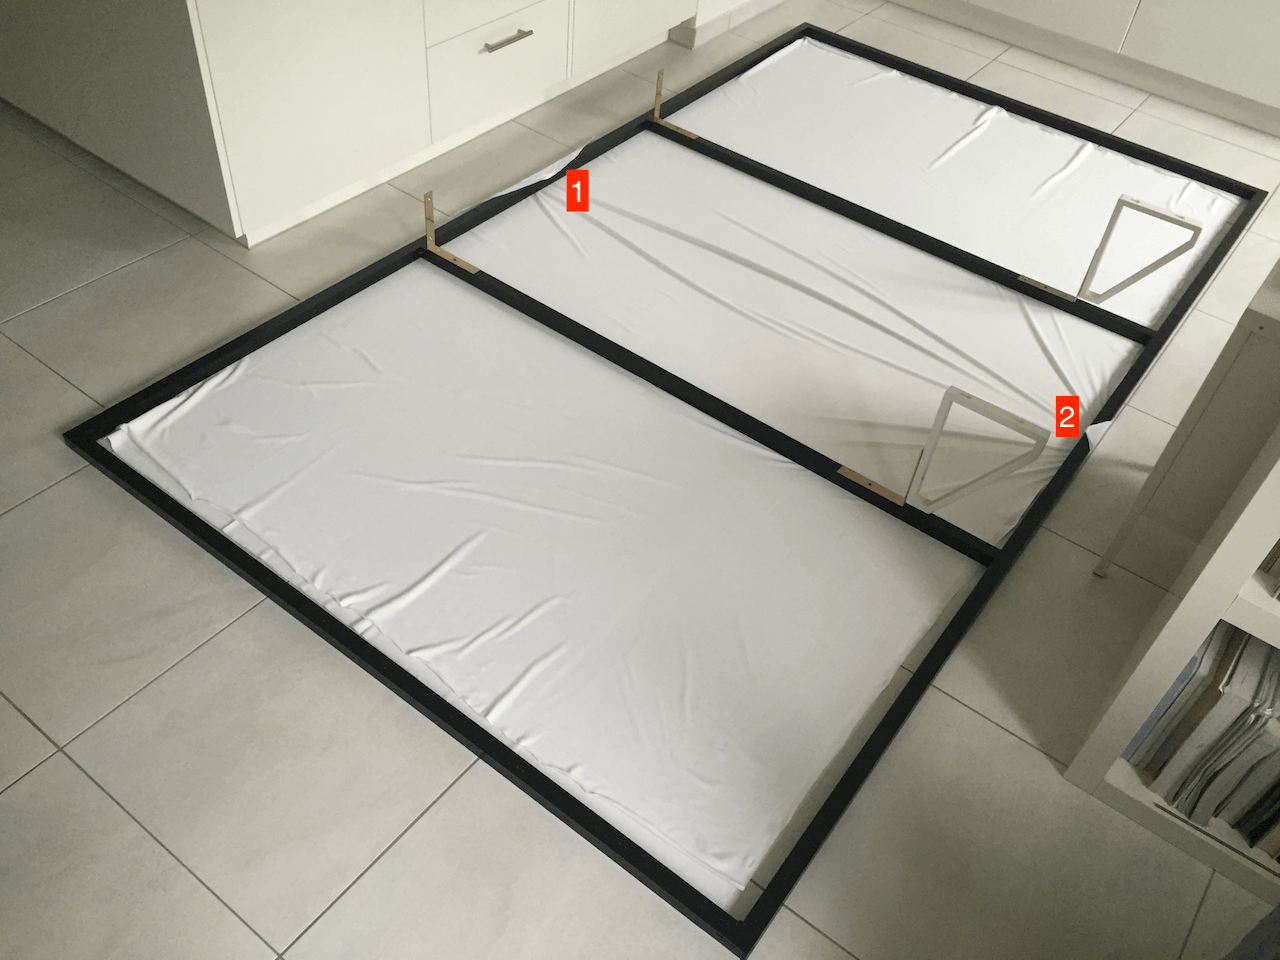
Grab both layers of fabric in the middle of one of the short sides and staple it to the frame (3). Do the same on the opposite side (4).
Grab both layers of fabric in one of the corners and staple it to the frame (5). Do the same on the opposite corner (6).

Grab both layers of fabric in one of the remaining corners and staple it to the frame (7). Do the same on the opposite corner (8).

Staple the fabric between already fixed points along the long side of the frame. Then do the same along the short side of the frame. Always staple only opposing sides, one at a time.

Staple the fabric at more points along the long side of the frame. Then do the same along the short side of the frame. Always staple only opposing sides one at a time.
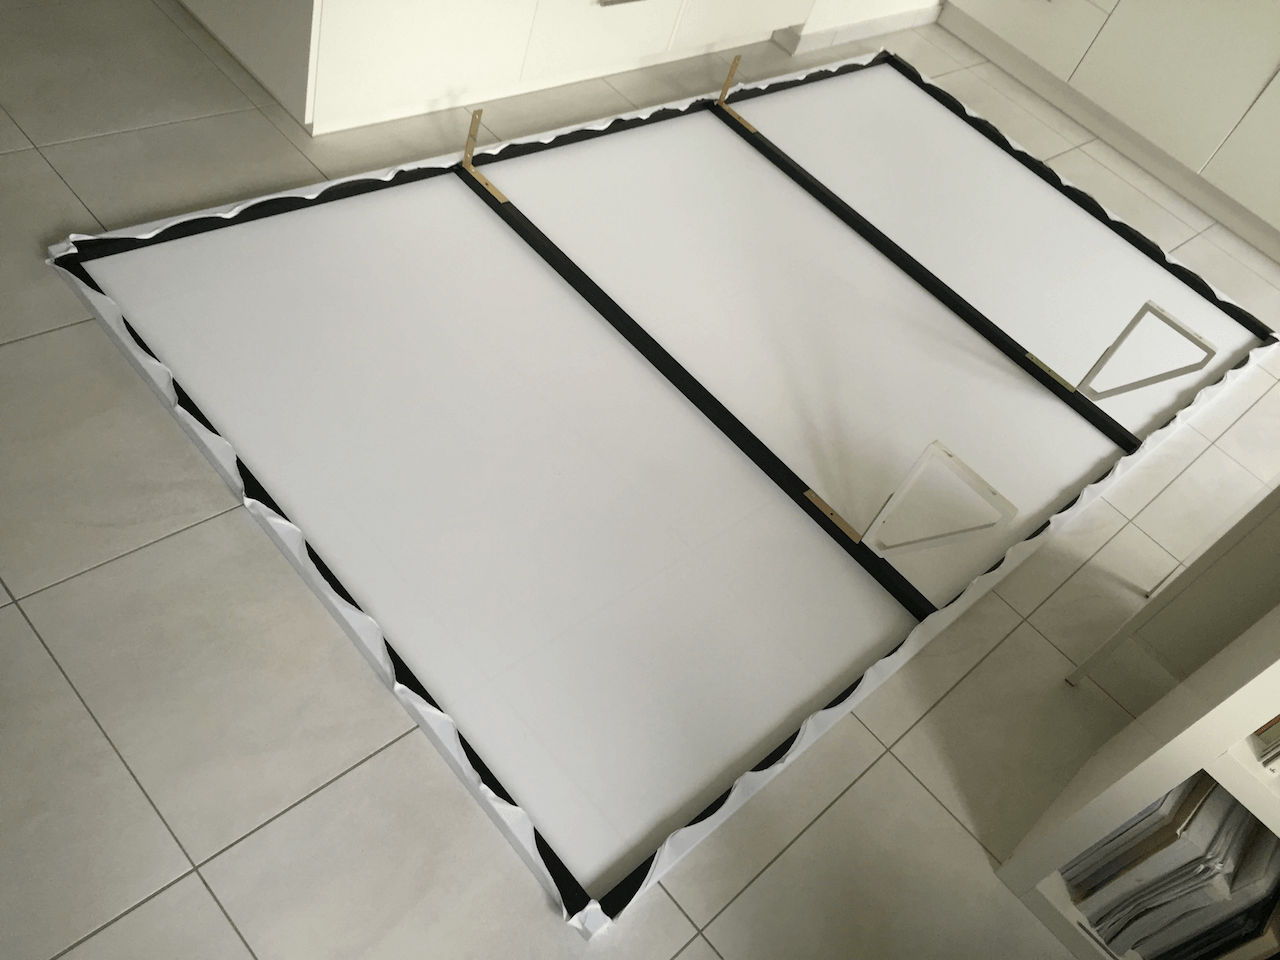
Pull the fabric a bit around the frame in between stapled points so the fabric covers the whole frame.
If it still looks like in the picture above then fix the fabric at more points. Always staple only opposing sides one at a time. A couple of additional staple points might be needed to fix the fabric neatly at the corners.